Are you ready for your close-up? (Part 2 of 2)
May 28, 2023 by Bruce W.

Hints and tips for improved macro photos
In Part 1 we looked at sensor cleanliness and lighting. Here in Part 2 we’ll look at some basic optical realities, and general compositional considerations. So let’s continue!
Macro depth of field (or, I fought the law and the law won)
Macro photography takes us beyond the bounds of normal human vision and smack into limits imposed by the laws of physics. As we increase the magnification of an image, the depth of field becomes shallower and shallower. The traditional photographic fix of stopping the lens down to increase depth of field that is used in conventional, non-macro photography, becomes less and less effective at shorter camera to subject distances, and higher magnifications. In fact, stopping down too far actually reduces the sharpness of an image through diffraction effects caused by the behaviour of light as it passes through a small opening. Composite photos made from carefully shot multiple images of the same subject using “focus stacking” software (a technique which falls outside the scope of this article) offer a computational loophole to escape these limitations, but for single-shot macro photography, the law is the law.
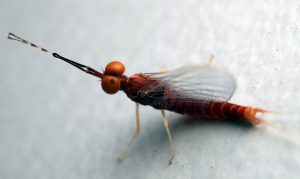
Much of this mayfly falls outside the shallow depth of field.
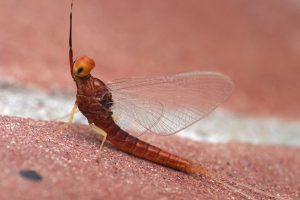
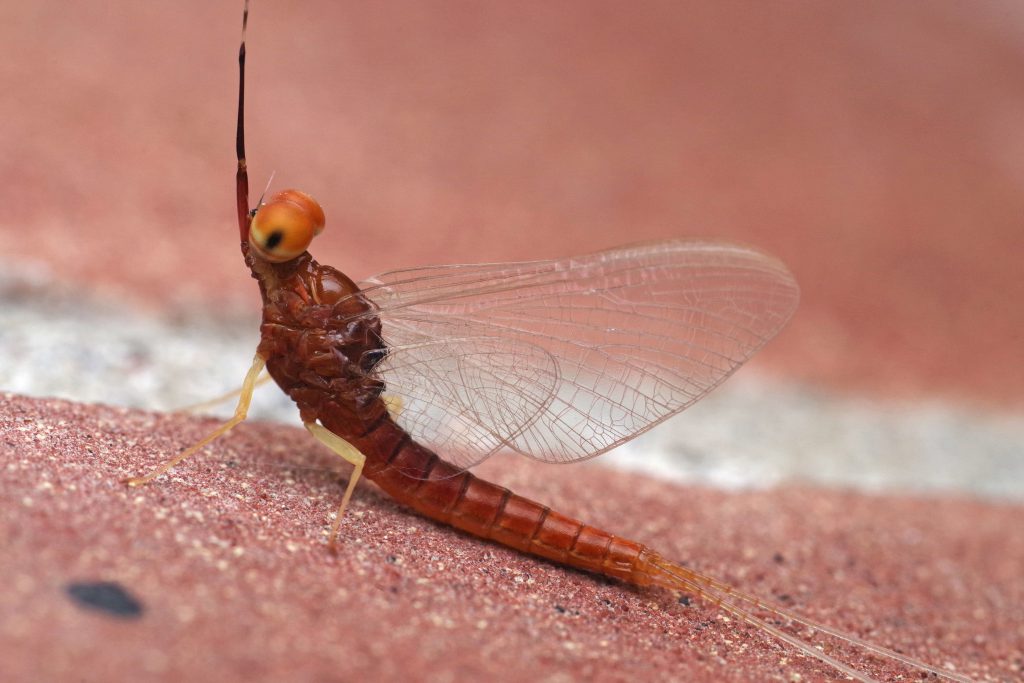
Adjusting the shooting angle to align the plane of focus to the plane of the insect yields a better result.
Achieving critical focus on the most important features of your subject is key to the success of a macro photograph, so being able to place that focus exactly where you need to is an essential skill. I find that manual focus is easier to use than auto focus. Many of the lenses I use are manual focus anyhow; with those that aren’t, I usually disengage autofocus. For a lot of macro shooting, focus is achieved more easily by moving the whole camera backwards and forwards rather than by turning the lens’s focusing ring. If you are shooting still subjects with a tripod mounted camera, a focusing rail or macro slider between your camera and tripod will let you do this much more conveniently and precisely than by moving the whole tripod. I use a DSLR but I often forego the optical viewfinder in favour of live view with focus peaking, which lets me see and place the thin plane of focus more precisely than I would be able to otherwise. Moving your camera to keep this plane of focus aligned with important planes present within the subject itself, like the wings of the above mayfly, will help get more of the subject in focus at once, if that serves the needs of your image. A camera with an articulated screen allows viewing while holding the camera at odd angles that might prevent your seeing a fixed screen at all. Experiment and find a method that works best for your own way of doing things.
Working with smaller subjects can let you get more out of shallow depth of field. At a given magnification, more of a smaller subject will be in focus at the same time than will a larger subject, as the shallow zone of focus represents a larger proportion of a small object than of a larger one. Increasing magnification, however, will continue to shrink DOF further. A profile of an insect that’s only a few millimeters long, magnified to fill the frame, is still going to have only a part of one of its eyes in focus.
Putting it all together: it’s all about the image
Whatever your subject, you are using the play of shadow and light, line and form, colour and tone, positive and negative space, as well as balance and rhythm to create imagery. You control what the viewer sees and how they see it. You can compose an image so that the viewer’s eye is drawn into it and led to key details and points of interest. Whether found in the field or created in the studio, your arrangement of these elements in the image space determines the impact of the final result. Surprisingly, subject matter is often secondary. A photograph of even the most common subject that uses these ingredients skillfully (think of Edward Weston’s vegetables) will be more interesting than an image of something more exotic that does not. These same rules apply with macro photography, just at a smaller scale. In the excitement of finally getting a still moment with a moving subject, it’s easy to forget about composition and imagery in our macro shots: guilty as charged. But just getting something in the frame and in focus is not enough. The image you create has to be interesting in and of itself regardless of the rarity of the subject, the difficulty in capturing it, or the gear and techniques you used to do so. A casual viewer is not going to be aware of, or care about, the challenges you faced in finally tracking down and focusing on this particular specimen. They want to see an interesting, compelling, and well composed image that makes them look more closely. You want to convey in your photo the interest and excitement that drew you to the subject in the first place. If it’s not in the picture, it’s not anywhere.

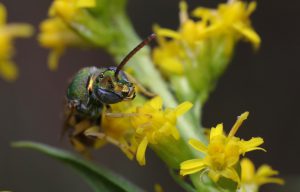
In my insect photography, I try to engage my subjects at their own level, face to face, to look them in the eyes, however many they may have. I’m often shooting portraits, focusing primarily on their faces rather than the whole body. I’m trying to capture and convey some sense of character or personality. As with any portraiture, the eyes are key. If only one eye can be in focus, I try for the one nearest the camera. If I can get antennae or feet in focus too, that’s great. I try to keep composition and context in mind as much as possible, at least as much as my sometimes frenetic subjects will let me. It can be a challenge, but it’s also part of the fun and reward of shooting what I shoot. Sometimes final polishing of composition and balance has to be done through cropping in post, rather than in-camera while shooting. That’s okay; whatever serves the betterment of the image is good.
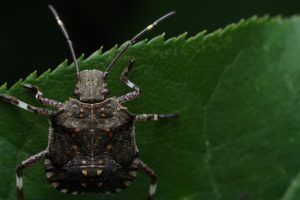
In your own macro adventures, you’re going to find your own way of doing things, your own combination of camera, accessories, and techniques that let you capture your vision in a way that most suits your ways of working. Sometimes you’ll be taking inevitable, impromptu courses in your very own school of hard knocks (Hello, filthy sensors!), but if you can learn from these unavoidable lessons, then your future results will be better for them. Nonetheless, I hope that the above hints and tips from my own experience will open shortcuts around potential potholes in your road to better photos.
Now, if you’ll excuse me, I hear some insects calling my name.