Are you ready for your close-up? (Part 1 of 2)
May 12, 2023 by Bruce W.


Hints and tips for improved macro photos
There are probably as many ways to do macro photography as there are macro photographers. This is not surprising. From stalking flowers and insects in the field, to shooting commercial and scientific images in the studio, macro photographers can be found anywhere and everywhere shooting just about anything. Each type of subject, setting, and approach to shooting calls for its own assortment of equipment and techniques. We learn by doing. I know I have. But whatever your subject, wherever you shoot it, if you’re getting close to your subject, you’re going to be dealing with a number of common challenges and limitations. The following tips are things that I’ve come across or learned in the course of my own photography that are general enough to be of use to just about any macro shooter’s practice.
Clean your sensor

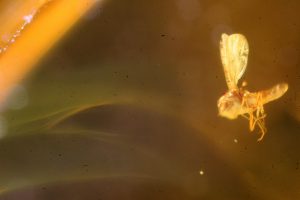
Ew. Seeing this was a disappointing surprise. Don’t let this happen to you. Be sure to practice proper sensor hygiene.
No, really, clean your sensor. Macro shooting will highlight any dirt or dust that is on it. The combination of small apertures used for greater depth of field, and lens extension used for greater magnification result in an even smaller effective aperture when shooting. Your lens might be set at f2.8, but as you approach 1:1 magnification, the effective aperture gets smaller, becoming more like f5.6 at life-size. Similarly, a nominal f8 setting gets shifted downwards two stops to f16, and so on through the range of apertures. The exact figures and how they are calculated is not important here, but the impact of the effective decrease in lens opening size is. That smaller opening now acts like a point source of light, resulting in any dust residing on the sensor casting sharper, more distinct shadows on it. It’s just like how the tightly focused beam of a projector lamp shining on a screen or wall lets you make shadow figures with your hands much more easily than does wide, diffuse room light. Your smaller effective aperture has become a projector that lets that herd of micro dust bunnies perform shadow plays on your sensor.
Dust is not always obvious; it’s usually small. The presence of a persistent dark spot situated in the same position as you cycle through a series of images on your camera or computer is likely the result of dust on the sensor. It will be more obvious in lighter areas of an image than in darker ones, and more evident in areas of continuous tone than in busy, highly detailed areas. Sometimes, though, especially when seen at 1:1, pixel for pixel on a large screen, you can find yourself viewing what appears to be scattered coffee grounds or coarsely ground pepper strewn across your image, with the occasional length of shoelace thrown in for good measure. Obtrusive dust in important detail areas of your subject is the worst manifestation. It’s always possible to clean up an image in post production, but if you can avoid cloning and healing the image by cleaning your sensor before shooting in the first place, so much the better: an ounce of prevention is worth a pound of Photoshop.
Soften your light

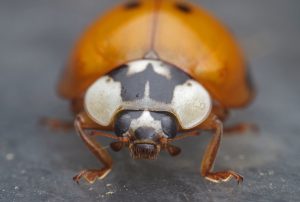
These harsh shadows and highlights are from undiffused flash. No flash extension was used and it shows: note the shadow of the lens along the bottom edge.

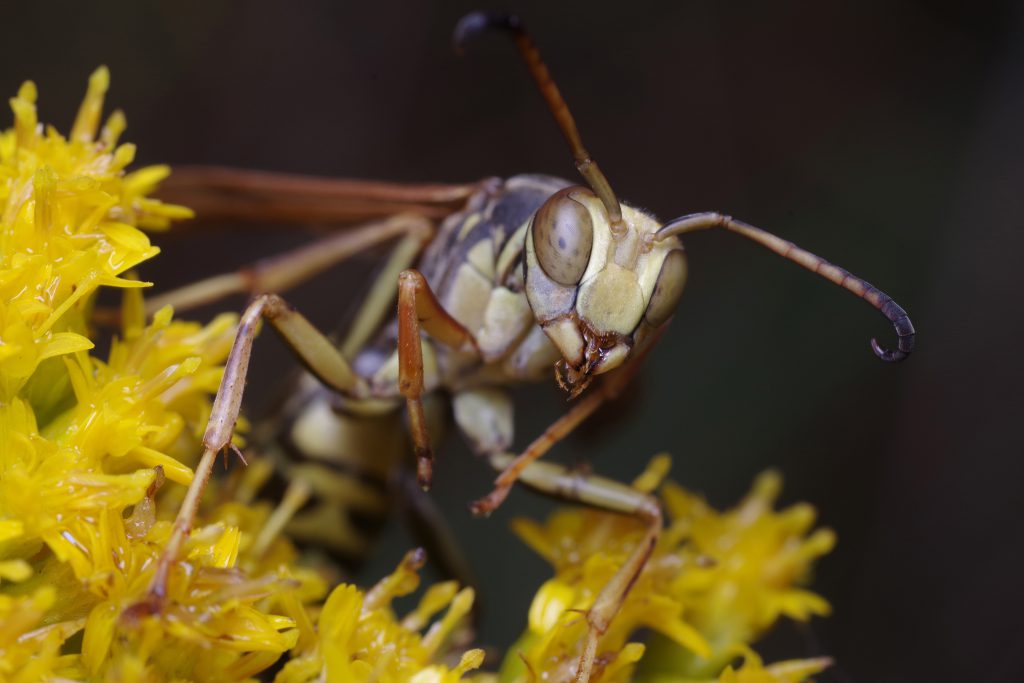
Much better!
The biggest single improvement that I’ve made in my macro shooting is through improved flash technique. Most of my macro shooting is outdoors, hand-held, and flash illuminated. Whether using the built-in flash or an auxiliary flash, changing how I let the flash light my subject has made a huge difference in the quality of my images. Modifying your lighting style might not be as obviously appealing as buying that additional macro lens you’ve got your eye on, but it will let you get better photos with the lens or lenses you’ve got now. It will also let you get more out of whatever lenses you add to your gear in the future.
In photography, without light you don’t have a picture: it’s that simple. It’s not just the presence or absence of light that we’re concerned with, but also its quality. Think of the difference between the harsh, bright light of a sunny noon hour versus the soft, shadowless light of an overcast day. Direct light from a more distant point source, like the sun, produces darker, sharper shadows and harsher reflected highlights, both of which can obscure detail you’re trying to capture. You can do a couple of things to overcome this problem. A piece of translucent diffusion material,larger than the front of the flash head, placed in front of your flash acts as artificial overcast, spreading and scattering the light. It turns your flash into a much bigger light source so your subject is wrapped in light, illuminating it at a wider variety of angles, opening up the shadows, and moderating the highlights. Bringing your flash closer to your subject helps too, increasing the relative size of the light source so it is no longer a small, distant point. This has the added side benefit of reducing the flash power required, thereby reducing flash recycle times. Taking your shoe mounted flash off the camera and mounting it on a flash bracket using a dedicated cord or radio trigger will let you do this. For built-in flashes, attaching a flash extender will bring its light out to the subject. Adding diffusion to the extender will soften that light. A recycled, modified potato chip tin works very well for this, as does a used paper coffee cup of sufficient length. Without such extenders we’re often working in the shadow of our lens as we move closer to our subject. Using your camera’s built-in flash instead of an add-on unit will keep your rig smaller, lighter and more nimble, which can be more convenient in the field. Auxiliary flashes are more powerful than your camera’s built-in flash, but at the expense of additional weight and volume. If you’re in the more controlled environment of a studio, shooting on a tripod, this extra bulk might not be an issue.

The Pumpkin Spice Latte diffuser, a makeshift solution to having forgotten my Potato Chip Tin extender-diffuser at home. This worked just as well. A paper napkin provides diffusion.
Stay tuned for Part 2, coming soon!